Knowledge base 202: Elevator Controls in Identity Access 9

In this guide you will learn how to setup elevator control in Identity Access 9.
Setting up an elevator in Identity Access is very easy and enables you to control who has access to certain floors in a building up to 64 floors per controller.
In order to use elevator control you must first purchase an I/O expander card along with an IA Professional license for up to 64 doors or an IA Enterprise license for systems with more than 64 doors.
In order to use elevator control you must first purchase an I/O expander card along with an IA Professional license for up to 64 doors or an IA Enterprise license for systems with more than 64 doors.

The master iNet must be dedicated to the Elevator control, you cannot add another iNet to the 485 bus.
You can however also use the master iNets relays to control the Elevator. A master iNet can only control one elevator (up to 64 floors).
You can however also use the master iNets relays to control the Elevator. A master iNet can only control one elevator (up to 64 floors).

Requirements -
iNet door controller
iNet door controller
Access Control Reader (Controlsoft/HID etc)
Identity Access Professional (IA-PRO) or Enterprise (IA-ENT)
iNet firmware version V9.36 or above
For more than 4 floors you will need an IOC expander board
Identity Access Professional (IA-PRO) or Enterprise (IA-ENT)
iNet firmware version V9.36 or above
For more than 4 floors you will need an IOC expander board
iNet master to IOC expander wiring
Use Belden 8723 cable or equivalent
Elevator software setup
1. Firstly you need to add the IOC expander to the master iNet's RS-485 network configuration.
2. To do this, login to Identity Access and select Setup > Controllers.
3. Edit your master iNet controllers properties by double clicking the iNet or right click and select Edit.
4. Highlight the address of your IOC expander and click the IOC expander icon to add it to the 485 bus, add the required number of IOC expanders and click Accept.
4. Highlight the address of your IOC expander and click the IOC expander icon to add it to the 485 bus, add the required number of IOC expanders and click Accept.
5. Now from the Setup menu choose Elevators.
6. Click the green + symbol to add a new Elevator to the system.
7. Give the Elevator a name and then choose the master iNet from the drop down that the Elevator is linked to.
8. Under the Settings area the section highlighted below is used to configure a fire fighter input for free access to the elevator in the event of a fire.
9. It's also possible to Enable free access when there is a mains fail alarm using this tick box below.

A Mains Fail input is required to be setup from within the Controller Settings.
10. The relay settings for the elevator are located in this area of the settings shown below where you can set the pulse time and also set whether the relay is Inverted or Normal.

It is recommended to use the Inverted setting which means you should wire the relay in reverse. This will mean that on Controller power down the relay will switch, making the elevator free access.
11. The Elevator buttons labels can be edited to suit your building using the Edit button.
12. Edit your floor names as shown below to reflect the elevator buttons as needed and click Accept.
13. Next from the Floors menu, you can see you are able to highlight either the master iNet or your I/O expander under the controller network section shown below to add floors to your hardware.
14. Once you've chosen either the iNet or the IOC expander, click on the green rectangular relay icon to add a floor as shown below.
Use the small + and - buttons to cycle through the floor names.
15. Click Accept to apply all your changes.
16. You now need to add a card reader to the system which will control access to the floors, this is usually installed inside the elevator.
Click Card Readers under the Settings area
17. Click  to add a new card reader.
18. Give the reader a name, select the Master controller this reader is linked to and then choose Elevator from the 'This reader controls' section
19. An Elevator group now needs adding to the system, select Management > Groups
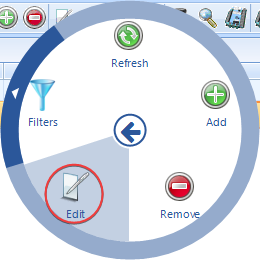
20. Click to add a new group to the system, or  to edit an existing Group.
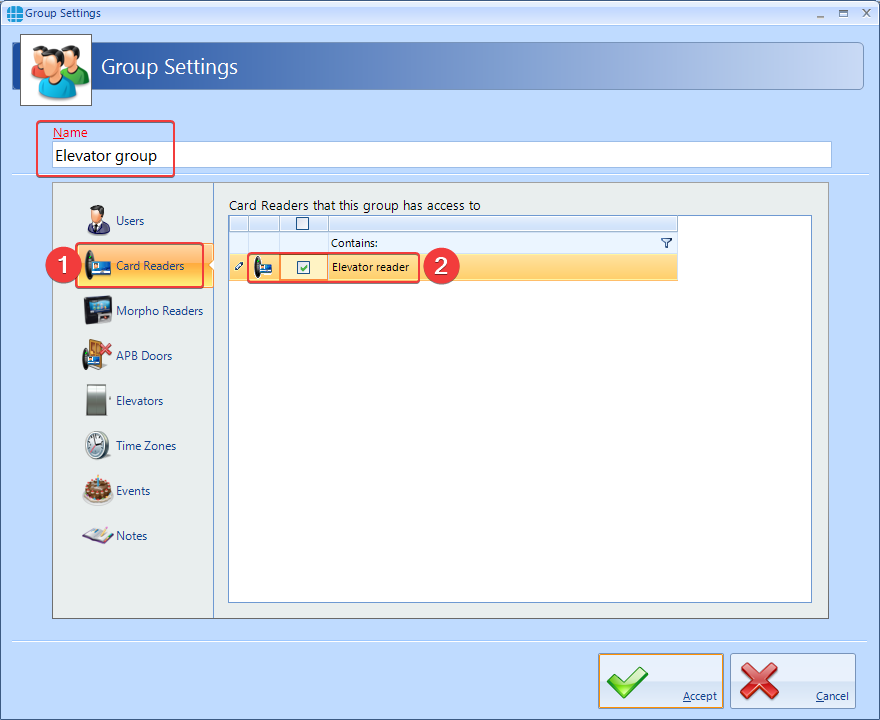
21. Select Card Readers from the left menu and tick the Elevator reader.
22. Now select Elevators from the left hand menu, either select all the floors or certain floors this group needs access to and click Accept.
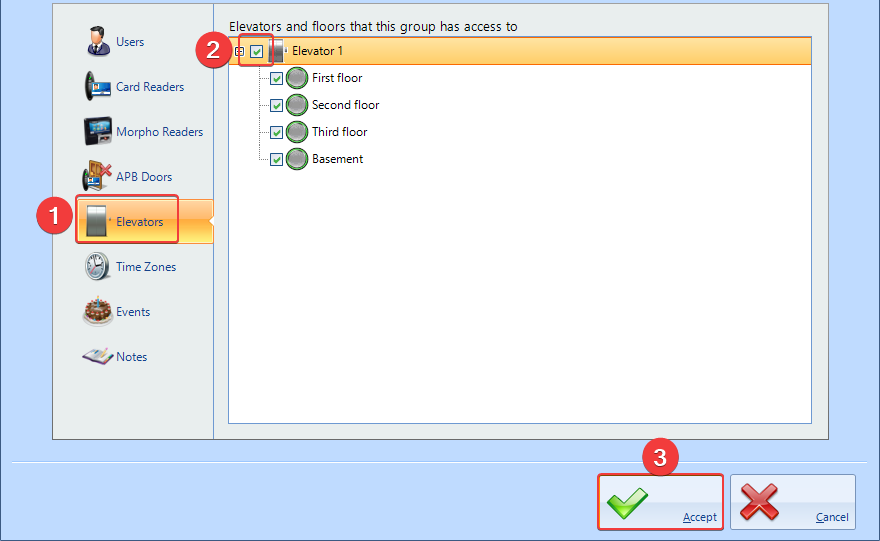
22. Now select Elevators from the left hand menu, either select all the floors or certain floors this group needs access to and click Accept.
23. Add an employee/Visitor/Contractor to this group (YouTube video on this subject available here)
24. Test the Elevator reader grants access to the correct floors.
24. Test the Elevator reader grants access to the correct floors.
Elevator Time Zones

It is possible to add a Time Zone to an elevator, the purpose of this is to put the elevator on free access (no card swipe required) for certain times.
1. Create a Time Zone, by click Setup ---> Time Zones. Click to add a new Time Zone.
2. Name the Time Zone and select the times in which you wish for Free Access to be applied.
3. Go to Setup > Elevators and edit your elevator you wish to put on Free Access.
4. Under the Time Zone tab access tick your newly created time zone.

Should the Time Zone be modified once applied to the Elevator then these changes require a full download.
This can be achieved by going to Setup > Controllers, select your controller and click the  .
.
Any issues with the above steps please contact support@controlsoft.com
Related Articles
Knowledge base 181: HID Asure ID Software with Identity Access 9
Controlsoft Identity Access 9 install includes a copy of HID Asure ID® 7. This is an ideal choice for organizations looking for affordable and easy-to-use photo ID card software with direct integration with the Controlsoft Identity Access database. ...Knowledge base 90: Using MorphoManager BioBridge & Identity Access 8
1. First install Identity Access (IA), follow the Installation Guide available with the download or IA USB Stick. 2. Next log into Identity Access to do this run the IA User Interface – Windows Start Button > All Programs/All Apps> Controlsoft ...Knowledge base 201: Moving Identity Access
1. Checking your Identity Access License To check whether the current installation is licensed login to Identity Access and go to Home > About. 2a. If the system shows a Professional License or Enterprise License and Version 9.XXX.XX, the license can ...Knowledge base 109: Identity Access 8 – Sigma Multi Series – IA-MFK/IA-MFC Settings
This requires an IA-PRO license if you do not have an IA-PRO license please contact sales@controlsoft.com The following Knowledge base describes the 3 options of how to configure Identity Access to work with the Idemia Morpho Series Multi readers to ...Knowledge base 178: Identity Access 9 - Sigma series reader with an LCD display for Pin & Biometric
This KB explains how to create a custom Biometric profile for a Sigma Series reader (LED Model required) for Pin & Bio using Identity Access version 9. This KB is based on the Biometric reader being wired into an i-Net Plus V3 door controller and ...